Setting Up & Deploying Custom Apps for Commercetools Merchant Center
Let’s start with a brief overview of the custom application in the merchant center.
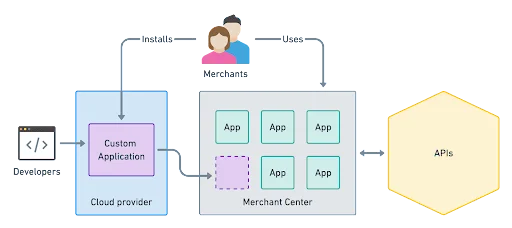
A custom application comprises a set of user interface elements and components that enhance the capabilities of the merchant center. Its purpose is to address the specific business needs of organizations by allowing them to configure and deploy custom applications within their commercetools organization. These applications can then be utilized in the merchant center, providing additional functionalities similar to other built-in features.
To begin the process, start by generating a custom application within the merchant center. Rather than building an app from scratch, you can utilize the starter template conveniently provided by commercetools. Open your terminal and run the following command:
npx @commercetools-frontend/create-mc-app@latest \ my-new-custom-application-project \ --template starter
Once the custom application is successfully installed, navigate to the project directory using the command cd my-new-custom-application-project. Then, start the application with the command npm start.
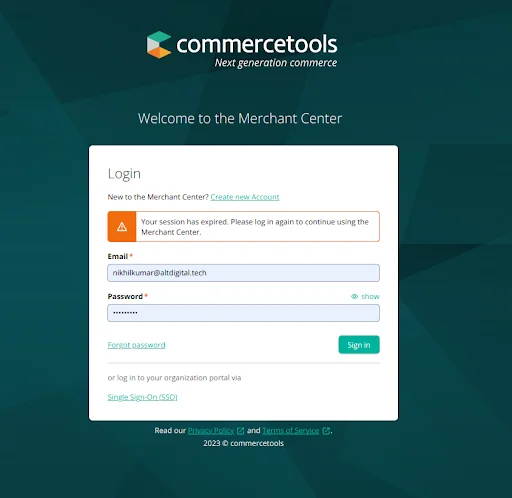
This will open your default web browser, directing you to the merchant center sign-in page. Enter your email address and password to log in.
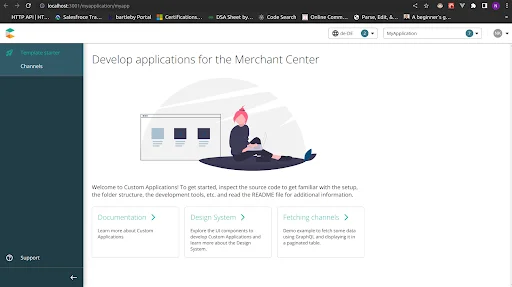
If your details are correct, you log in to the merchant center, and you will see this type of screen.
At this point, there may not be any data in the Channels section. To import data into your project, you can use the default data provided by commerce tools (such as Sunrise Store Data) or customize it based on your requirements.
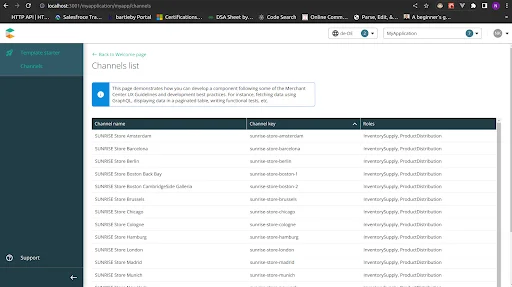
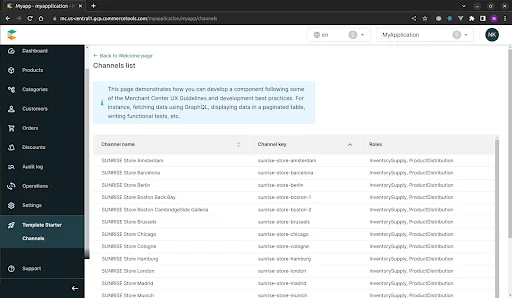
So, I have imported data into my project, and now when you click on the Channels, It shows you data like this.
I assume that you already set up the sunrise data in your project, and now we move forward to host the application in the cloud. So, here I am using Microsoft Azure to host the merchant center custom application.
So, below I will tell you how to deploy the application in the cloud:
- Go to the https://portal.azure.com/ and sign in to your account.
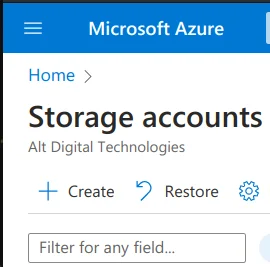
In the Azure portal, navigate to “Storage Accounts” and click “Create” to create a new storage account.
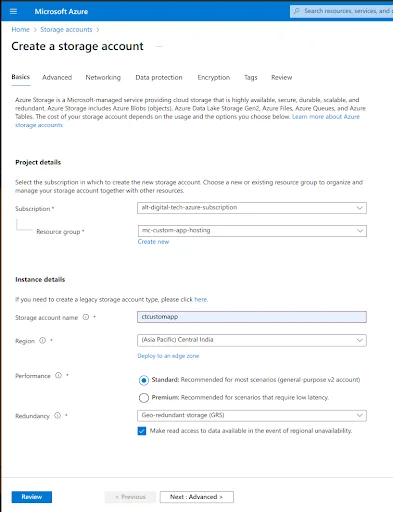
3. Fill in the necessary details for the storage account, including the subscription, resource group, storage account name, region, performance, and redundancy. Click on “Review and Create” to proceed.
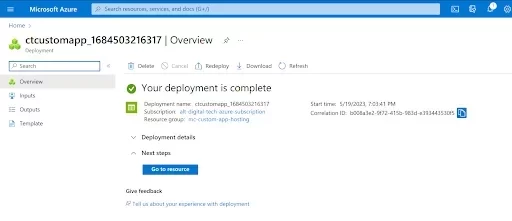
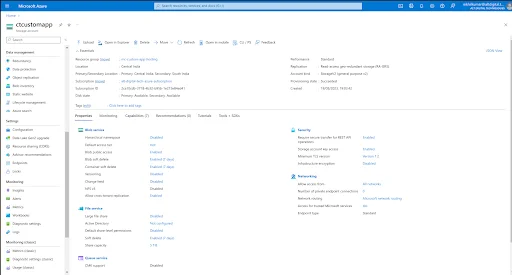
Once the storage account is successfully created, you will see this type of screen
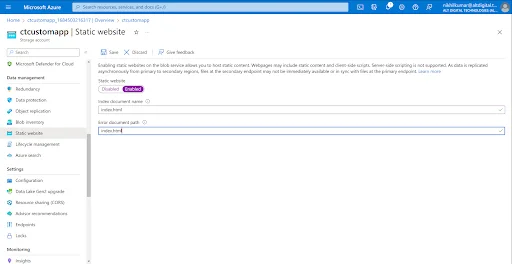
4. Go to the resource and select “Static website” under Data Management.
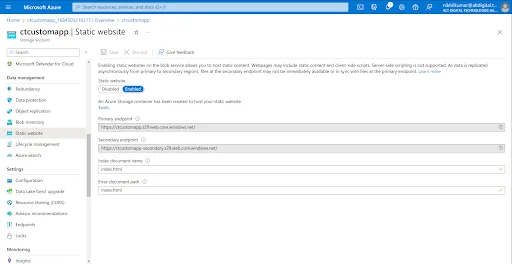
5. In the Static website settings, specify “index.html” as the index document name and provide the path for the error document.
Save the settings, and you will receive a URL to host your custom application.
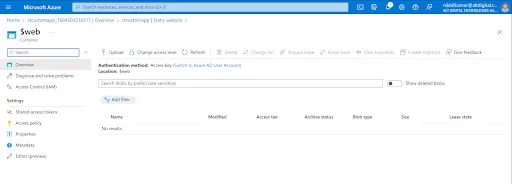
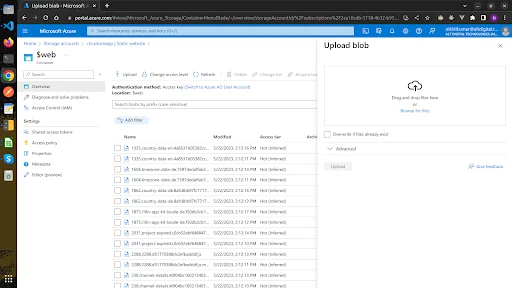
- Access the $web section and upload the build files of your custom application to the Azure portal.
But before uploading the file first configure the custom application in the merchant center.
Now, return to the merchant center and configure your custom application.
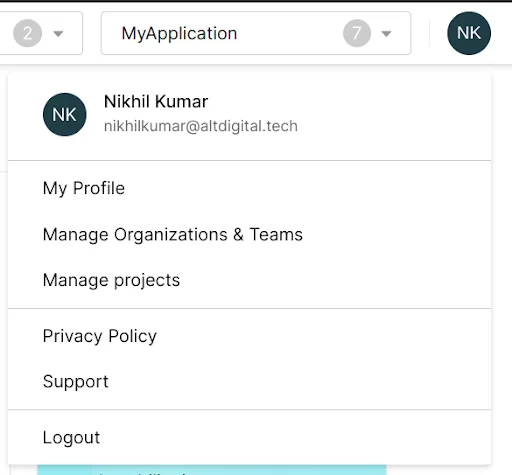
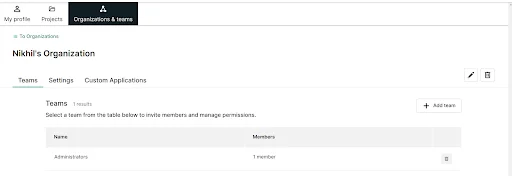
6.1 – Go to Manage Organizations and Teams
6.2 – Select your organization
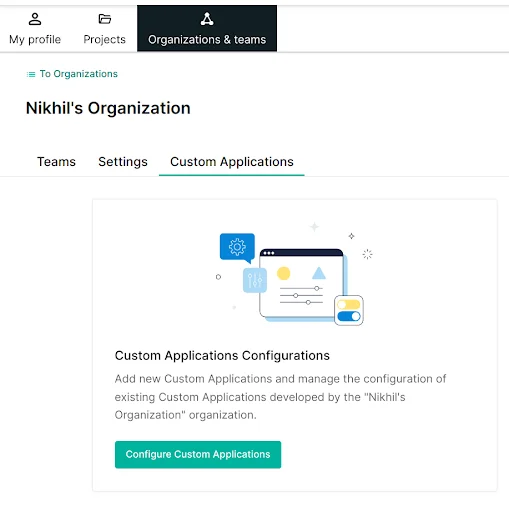
6.3 – Then, click on the custom application and choose “Configure custom application“
6.4 – Click on the Add a Custom Application.
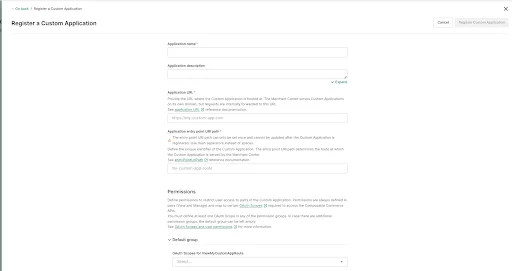
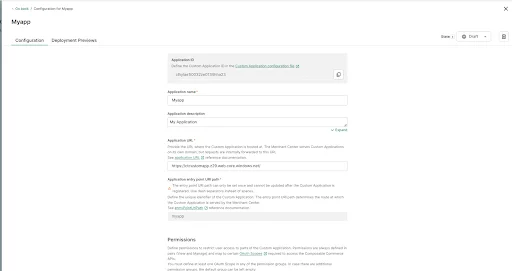
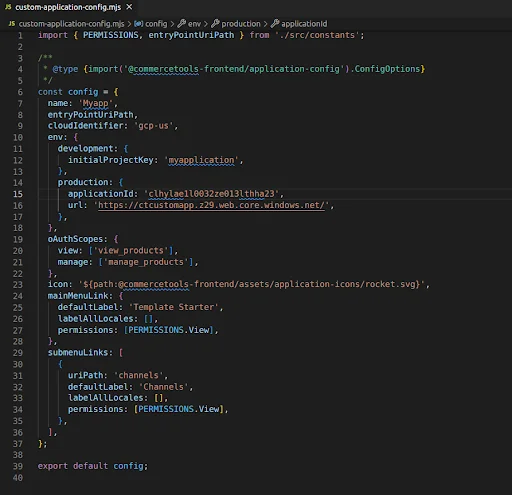
6.5 – Add your custom application by registering it using the code provided in the custom-application-config.mjs file.
6.6 Once the application is registered, you will receive an Application ID.
Note: Please verify the email address for the custom application.
6.7 – Copy and paste this ID into the custom-application-config.mjs file, along with the primary endpoint URL.
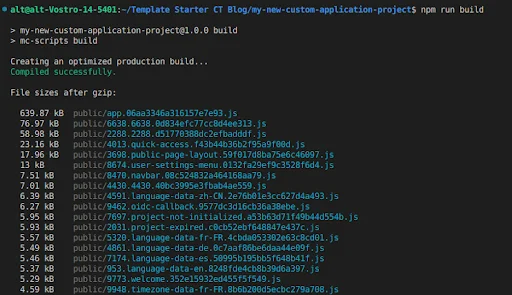
6.8 – Open the terminal in your preferred code editor or directly within the custom application folder. Run the command npm run build to generate the build files for your application.
7 – Once the build process is completed, upload the generated build files to the Azure portal, specifically within the $web section.
So, all our files are successfully uploaded.
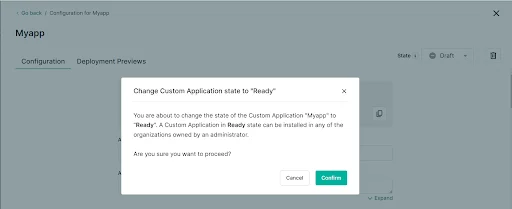
Return to the merchant center and proceed to install the custom application in your project. Change the state of the application from “Draft” to “Ready” by clicking on the confirmation button.
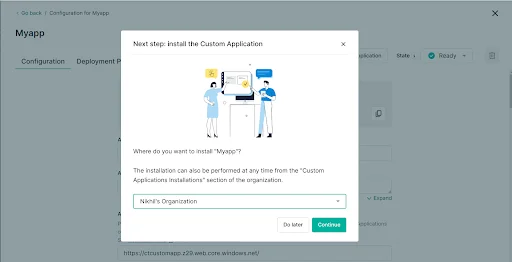
Select the organization and project where you want to install the application. You have two options, installing it for all projects within the organization or choosing specific projects.
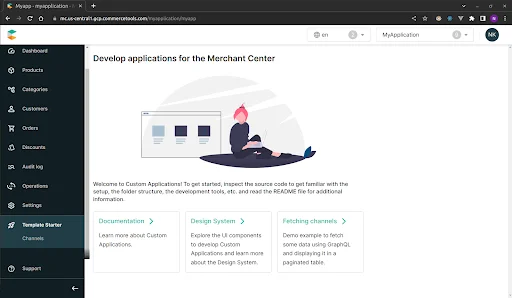
After selecting the desired option, the application will be successfully installed in your project. You can now access your custom application in the merchant center dashboard, typically located above the “Support” section.
When you click on the Template Starter you will see your application running here like this
And when you click on the Channels
You have successfully registered, deployed, and installed your custom application in the project. The steps provided were based on using the default data provided by commercetools.
However, you can create your own application and follow these steps to register, deploy, and install it in your project. Keep in mind that there are various other ways to accomplish the same tasks, and you can choose the cloud provider that suits your needs and preferences.
Commercetools supports AWS, Azure, and GCP, offering flexibility in hosting your custom applications. Also the application build and deployment steps can be streamlined and configured to run through a CI/CD pipeline which will push the build artifacts to the appropriate location under the cloud storage environment of your choice.


